ravelry
patterns
yarns
people
groups
forums
my notebook
sign in
create an account
advanced search
patterns
projects
designers
sources
yarns
stashes
yarn shops
brands
fiber
people
groups
forum posts
topics
events
patterns
>
Rheatheylia
Rheatheylia
Source
Viewing as a guest user.
What am I missing?
overview
patterns (13)
projects
discussions
editors
patterns (13)
Viewing as a guest user.
What am I missing?
overview
patterns (13)
projects
discussions
editors
•••
ravelry downloads
Rheatheylia
ravelry.com
Ravelry Store
Notes
Ravelry Store
ravelry.com
Sort by name
Most favorites
Most projects
Recently added
Beary Jackson
by
Sarah Arnold
5
474
Cable Hat
by
Sarah Arnold
32
8924
Divine Hat
by
Sarah Arnold
142
32588
Flapper Hat
by
Sarah Arnold
17
3818
Fuzzy Bodies Amigurumi
by
Sarah Arnold
1
61
Lattice Hat
by
Sarah Arnold
29
10954
Lattice Legwarmers
by
Sarah Arnold
3
623
Lavender Bunny
by
Sarah Arnold
5
1608
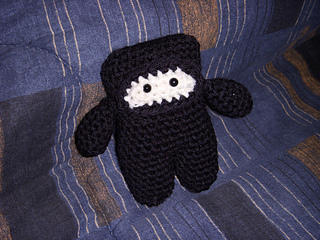
Little Ninja
by
Sarah Arnold
3
426
Mesh Hat
by
Sarah Arnold
1
196
Penguin
by
Sarah Arnold
5
246
Purely Puffs (large)
by
Sarah Arnold
431
Purely Puffs (small)
by
Sarah Arnold
287